You land at Incheon, turn off airplane mode, and—nothing. No data, no maps, no way to message the friend picking you up. Korea has fantastic, fast internet, but you need a way onto it the moment you land. The easiest one in 2026 is an eSIM: a data plan you install on your phone before you fly and switch on when you arrive. No shop, no plastic SIM, no swapping tiny chips at the airport.
Short answer: for almost every visitor, the eSIM wins — you install it before you fly and you’re online the second you land, with no shop queue and no plastic to swap. Get a physical SIM instead if your phone doesn’t support eSIM, you’re staying long-term, or you need a Korean phone number for bookings. Pocket Wi-Fi only earns its keep when a family or group shares one device. The details are below.
Which eSIM should you buy for Korea?
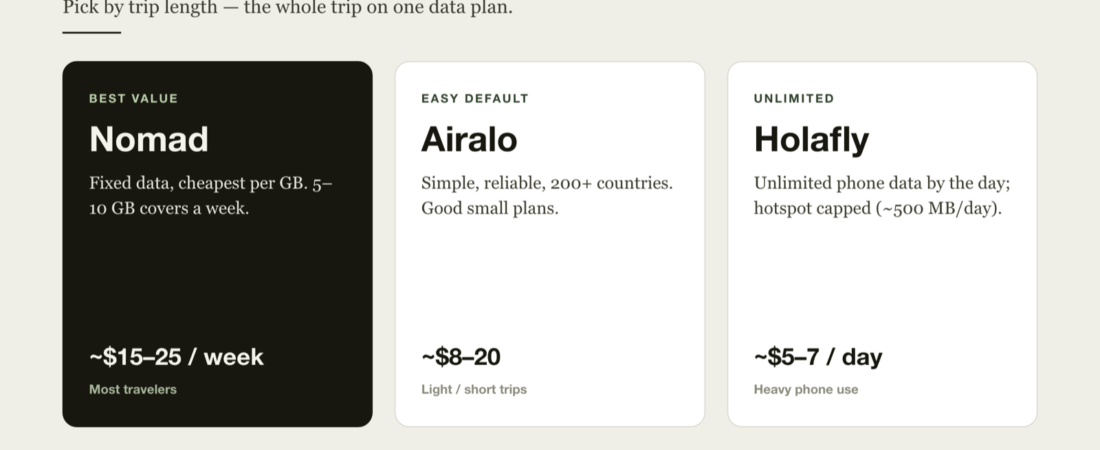
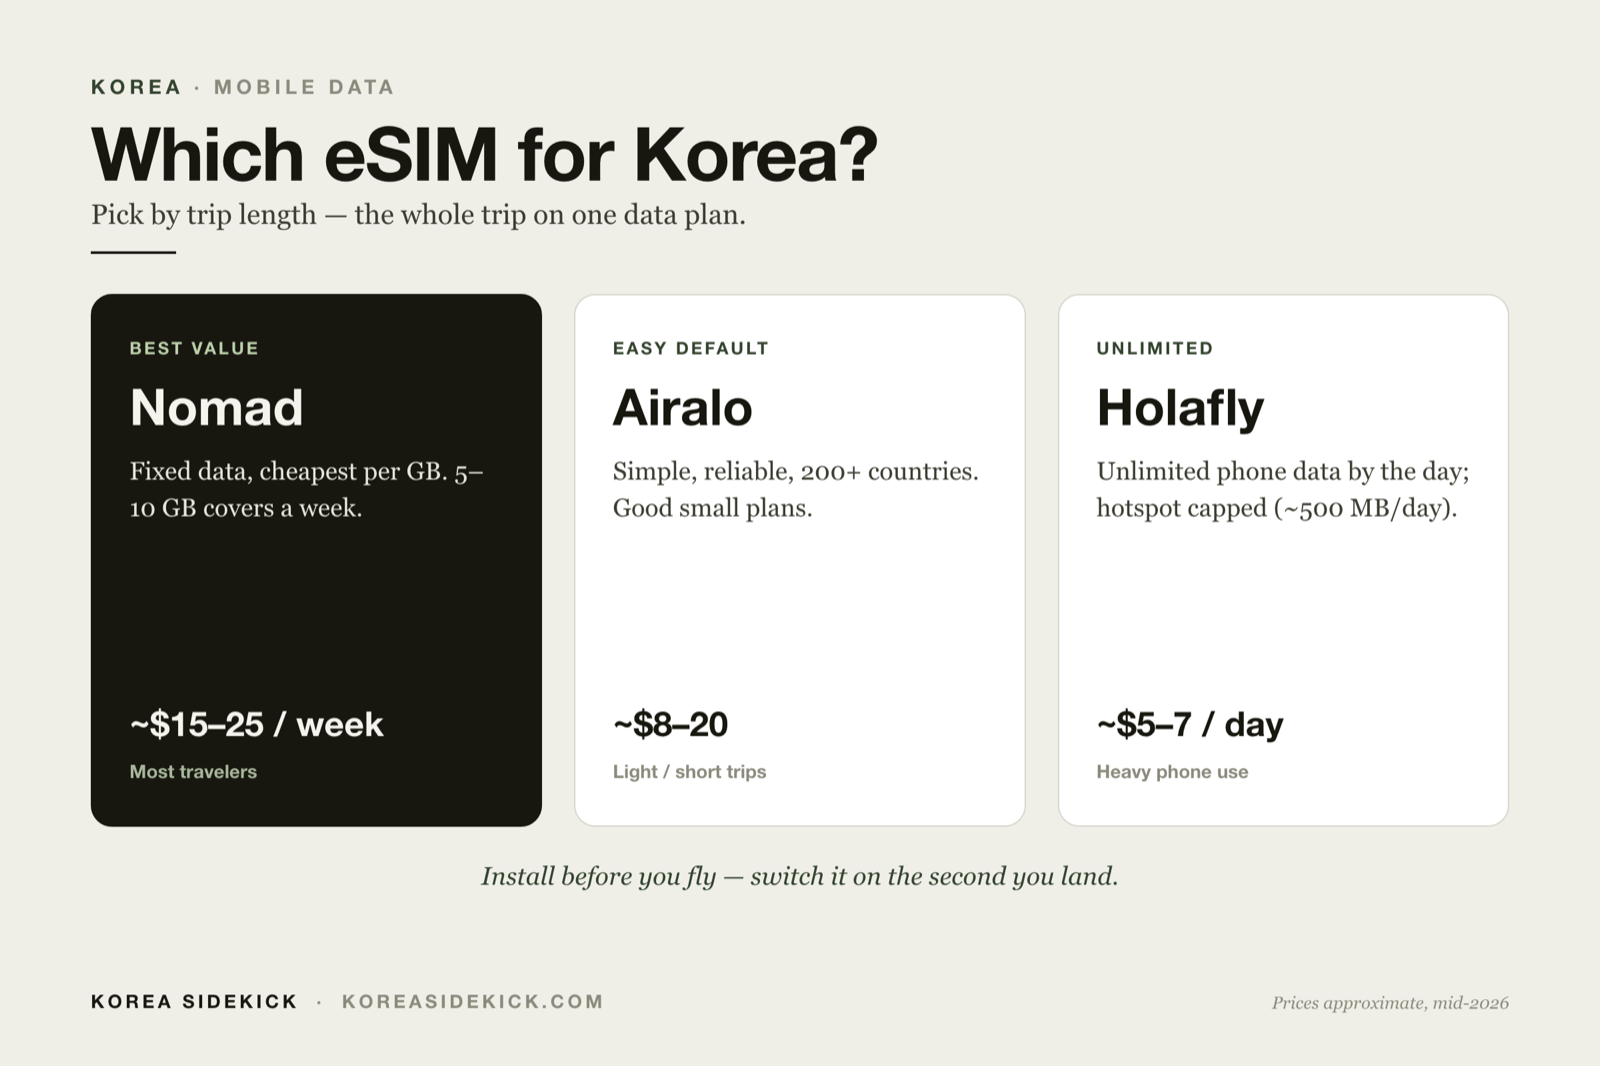
Short answer: for a normal 1–2 week trip on a modern phone, buy a fixed-data eSIM — Nomad is usually the best value per GB, Airalo is the easy default, and Holafly is the one to get if you want unlimited-style phone data and don’t mind paying more — heavy daily use can be throttled under fair-use rules, and hotspot is capped. Install it before you fly, switch it on when you land, and you’re online in a minute.
Do you even need one?
Korea has free public Wi-Fi in a lot of places, but you can’t plan a day around it. The moment you step off the subway and need a map, a translation, or a Kakao message, you want your own connection. One data plan for the trip removes that whole category of stress — and it’s what makes Naver Map and every other app actually work.
Best pick by trip length
Prices move around and providers run sales, so treat these as ballparks (checked mid-2026) and confirm on the provider’s site before you buy:
| Trip | Plan to look for | Rough price | Best pick |
|---|---|---|---|
| Weekend (2–3 days) | 3–5 GB | ~$8–12 | Airalo or Nomad |
| One week | 5–10 GB | ~$15–25 | Nomad (value) |
| Two weeks / heavy maps | 10–20 GB | ~$22–40 | Nomad or Airalo |
| Heavy streaming, on your phone | Unlimited | ~$3–6/day | Holafly (unlimited) |
Note: Nomad and Airalo charge by the gigabyte; Holafly sells unlimited-style plans by the day. If you mostly use maps, chat, and the odd video, 5–10 GB covers a week easily. If you stream a lot on your phone, unlimited (Holafly) fits — but to hotspot a laptop, pick a bigger per-GB plan instead, because unlimited eSIMs cap tethering (Holafly limits it to roughly 500 MB–1 GB/day and shows the exact cap in-app). Booking platforms like Klook also sell cheap Korea eSIMs in various data tiers worth comparing.
eSIM vs pocket Wi-Fi vs a physical SIM
- eSIM — best for most solo travelers on a recent phone. Set it up before you fly, online the second you land, nothing to pick up or return.
- Pocket Wi-Fi — best for families or groups: one rented device shares data across several phones, so you split the cost. Downside: you carry (and charge, and return) a gadget.
- Physical SIM — best if your phone doesn’t support eSIM, you’re staying a while, or you need a Korean phone number for bookings. You pick it up at the airport or a convenience store.
Do you need a Korean phone number?
Short answer: probably not. Most travelers do everything on data alone — a Korean number only matters for a couple of specific things. Here’s the split.
Fine on data only (no Korean number)
- Maps (Naver Map), translation (Papago), search, and messaging — everyone in Korea uses KakaoTalk, which runs over data.
- Kakao T taxis — sign up with your home number and it runs on data. Do it before you fly: a foreign number can take a day to verify, and codes arrive more reliably on your home carrier. Foreign cards often won’t save for in-app payment, so choose “pay the driver” with cash or T-money — or use Uber, which runs in central Seoul as licensed “UT” taxis and takes a saved foreign card (a handy backup, though there are fewer cars and it’s pricier).
- Hotel, Airbnb, and Klook tour/ticket bookings; paying at shops and restaurants by card or cash.
- Food delivery, even — Baemin now has an English guest checkout that takes a global card, so you can order without a Korean number (its normal phone sign-up wants a Korean 010, so pick the guest/global login instead). Coupang Eats is the one that still needs a Korean number.
- OTP codes and texts to your home number still arrive if you leave your home SIM active — most carriers don’t charge for incoming texts (confirm with yours), so you’ll still get bank codes.
So for most travelers a data-only eSIM is all you need — see the picks above.
When a Korean number actually helps
- You’ll be calling or texting Korean businesses or people a lot — a guesthouse host, a local friend, phone reservations.
- You want Coupang Eats or another app that specifically checks a Korean number.
- You’re staying long-term (a working holiday or a long work trip) and registering for local services.
If you do want one, two ways
- A number-included eSIM. Some Korean-carrier tourist plans (KT, SK Telecom, LG U+) include a real 010 number with voice and SMS, not just data. Rule of thumb: if the plan doesn’t clearly say “Korean 010 number,” assume it’s data-only.
- A physical SIM with a number. If you’d rather have a card, resellers like Chingu Mobile sell a cheaper Korean-number SIM you collect at Incheon Airport (Terminal 1 arrivals, near the Airport Bookstore) — usually cheaper than the big carriers. Note that a few Korean apps only accept the big three carriers’ numbers.
One limit either way: a tourist SIM or eSIM number lets you call, text, and verify most apps, but it won’t pass Korean bank or government identity checks (“real-name” verification) — those are tied to a foreigner registration card (ARC), which comes with a longer-term line. For a normal trip none of that matters, and most people are happiest on a simple data-only eSIM.
Is your phone compatible?
Most phones from about 2019 on support eSIM: iPhone XS / XR and newer, Google Pixel 3 and newer, Samsung Galaxy S20 and newer, and many recent models from Xiaomi, Oppo, and others. Two things to check: your phone must be eSIM-capable and carrier-unlocked. (Heads-up: some US-bought Galaxy S20/S21 units ship with eSIM switched off—check in Settings.) Quick test: open Settings and see if you can add an eSIM (steps below). If the option is there, you’re good.
How to set it up (before you fly)
You buy the eSIM online, get a QR code by email, and scan it. Do this at home on Wi-Fi — you install now and switch it on later.
iPhone
- Settings → Cellular (or Mobile Data) → Add eSIM
- Scan the QR code from your provider
- Label it “Korea” and leave your home line as default until you land
Android (Samsung / Pixel)
- Settings → Connections / Network → SIM manager → Add eSIM
- Scan the QR code
- Keep it switched off until you arrive
When you land in Korea: turn the Korea eSIM on, set it as your data line, and switch data roaming on for that plan (this is normal for eSIMs — it just means “use this plan’s network”). Give it a minute. You’re online.
Rather not deal with eSIM? Grab a SIM at the airport
If QR codes and settings menus sound like a headache, skip the eSIM and just buy a physical SIM card the moment you land. It’s the no-tech option — the staff do the work, and you walk away connected.
- Where: the arrivals hall at Incheon has counters for all three carriers — KT, SK Telecom, and LG U+ — near the exits at both Terminal 1 and Terminal 2. Some booths (near Gate 10 on the 1st-floor arrivals) run 24 hours; others open roughly 6am–10pm.
- What to bring: your passport (required to register any SIM in Korea) and some Korean won — though many counters also take cards.
- How it works: show your passport, pick a plan by trip length, and the staff pop the SIM in and activate it for you. Your phone restarts and you’re online, usually within five minutes. No QR, no settings menus.
- Which carrier: KT is the most popular and runs at full speed; LG U+ often has the shortest queue; SK Telecom is stocked almost everywhere (even at CU convenience stores) but caps speed a little. Rough cost is about ₩10,000–40,000 depending on days and data — confirm at the counter (2026).
- Skip the queue: you can reserve a tourist SIM online in advance and just collect it at the airport counter — handy at busy arrival times.
Not sure your phone even takes an eSIM? That’s the other reason a physical SIM is the safe pick — it works in any unlocked phone.
Mistakes to avoid
- Don’t scan the QR code twice. Most eSIMs install once — screenshot the QR before you start, and if you delete the eSIM you may need a new one.
- Don’t buy way too much data. A week of maps and chat rarely tops 5–10 GB. You can always top up.
- Don’t leave your home line on data. Set the Korea eSIM as your data line or you’ll roam on your home plan by accident.
- Install before you fly. You need Wi-Fi to install; do it at home, not while hunting for airport Wi-Fi.
FAQ
Can I still get calls and texts on my normal number?
Yes. Your home SIM stays active for calls and texts; the Korea eSIM just handles data. Most eSIM travel plans are data-only — you’ll use KakaoTalk or WhatsApp for messaging, which is what everyone in Korea uses anyway.
Should I buy before or after I arrive?
Buy and install before you fly, activate when you land. That way you’re online immediately instead of standing at the airport looking for Wi-Fi.
eSIM or pocket Wi-Fi for a family?
For two or more people who stay together, a pocket Wi-Fi you rent at the airport is often cheaper per person. For solo or independent travelers, an eSIM is simpler.
Read next: got data sorted? Next is getting into the city — how to get from Incheon Airport to Seoul, and the T-money card for every bus and subway.